
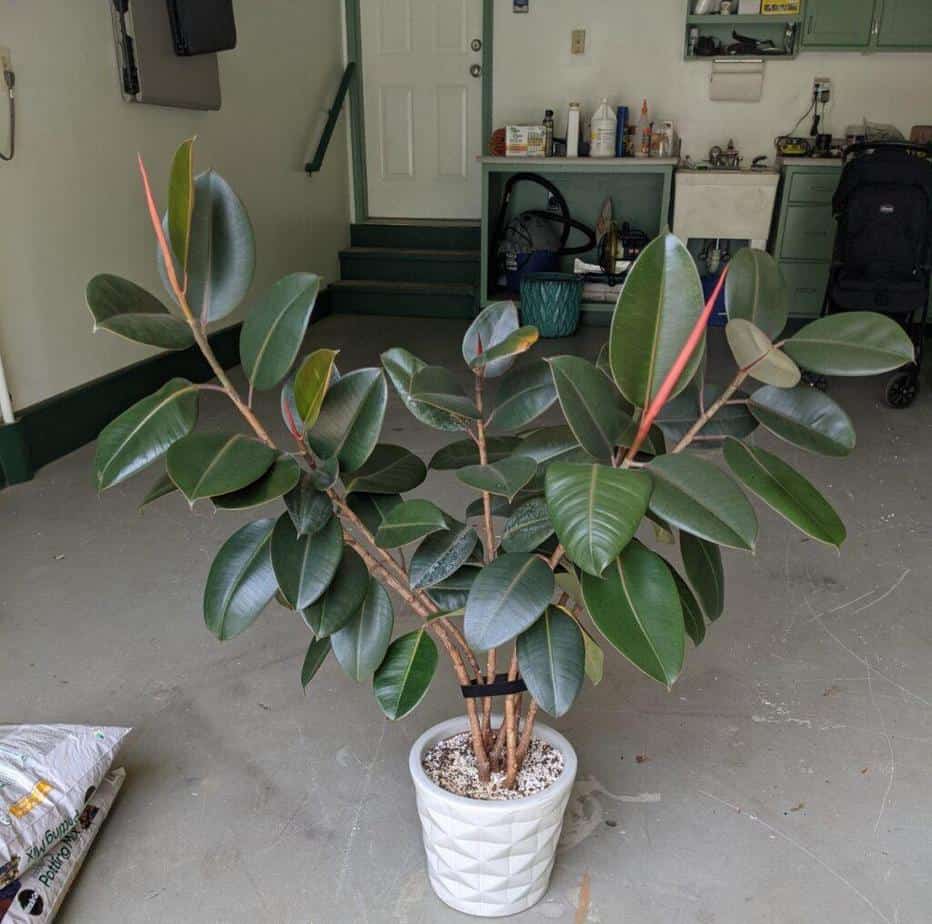
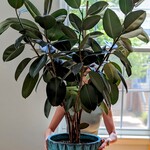
I have a very nice Burgundy Rubber Tree, or Ficus Elastica. It has been doing great. However, I was realizing it’s been in the same pot for several years. The top side is starting to look too big for that pot. I decided to tip the pot up to see if I saw roots coming out of the drainage hole and sure enough, there were. With that sign, I decided it was time pot up my Rubber Tree.
About Rubber Trees
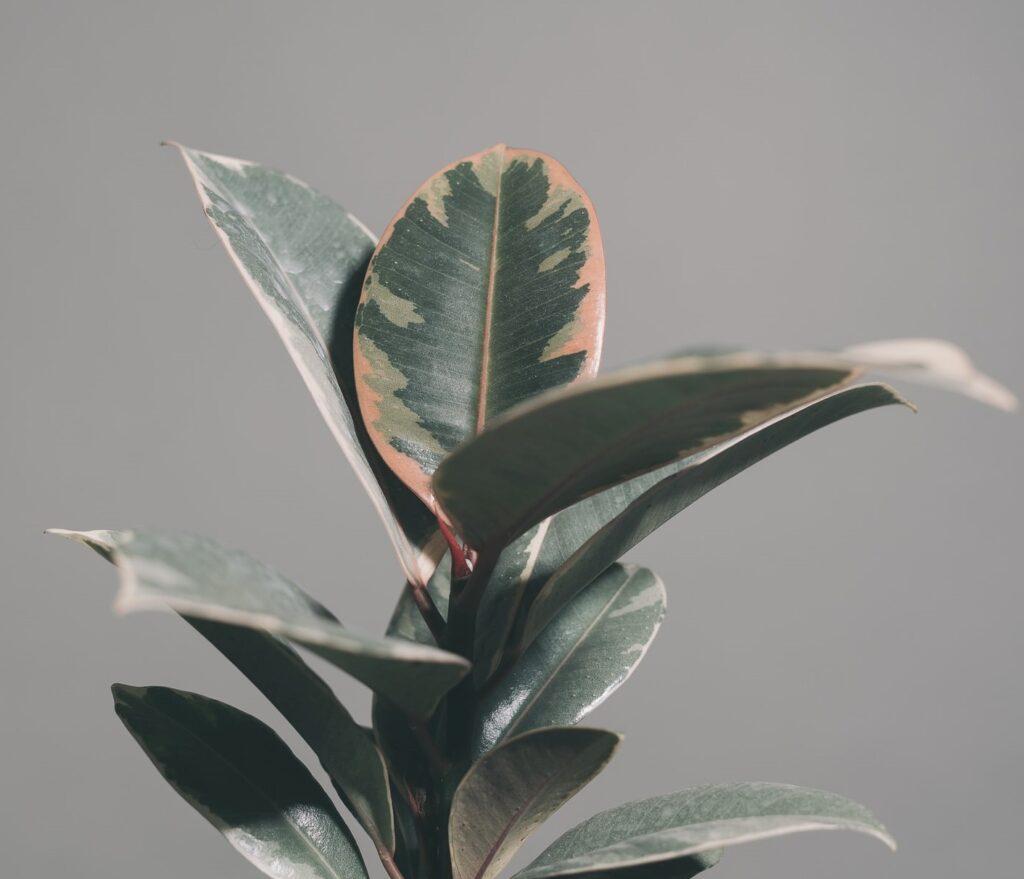
Rubber Trees are a common house plant that you can often find at home improvement stores. They come in a few varieties which sport different leaf colors and patterns such as Burgundy, Tineke, and Tricolor (see below). I’ve had my Burgundy for many years and just recently added a Tineke to my collection.
Rubber Trees are slow growers so you really shouldn’t need to repot them very often. They like moderate or bright indirect light, so a good place for yours would be in a west or east-facing window. Only water it once the top two inches of soil are dry. As a slow grower, they don’t need to be fertilized often, a few times per growing season should do.
Rubber Trees are not safe for cats or dogs to ingest. In addition, the Rubber Tree excretes a white sap when a leaf or branch breaks. This sap can be a skin irritant to some, so handle with care and keep it away from children. See my blog on babyproofing houseplants for ideas.
Signs to Repot Your Rubber Tree
Roots Coming Out of the Bottom of the Pot
This is the reason I am repotting my Rubber Tree. In general, it’s good to keep in mind the last time you repotted your plants and to know how quickly they grow. Fast-growing plants may need to be repotted once a year. Other slower-growing plants like the Rubber Tree can go several years without a repot. All you really need to do is just tip your pot over and peak at the drainage hole(s). If roots are growing out, your plant could probably use a repot.

Leaves are Falling Off
Aside from the mental note about the length of time since my Rubber Tree’s last repot, I have also noticed that some of the lower leaves have been yellowing and eventually falling off. This doesn’t necessarily mean anything is wrong. In fact, it’s normal for some older leaves to die off. I was noticing it happen more often though so that contributed to me wanting to check the roots.
If you have leaves dying off at the tip of a branch that’s more of an indication of a problem. Most likely a watering or fertilizing problem, which means you might want to look at the soil. You’ll be able to tell by feel if your soil is too waterlogged or dry and you can visually inspect the roots to see if they are healthy. Healthy roots are firm and usually white-ish. The best way to check your soil fertility are with these rapitest soil test strips. They measure nitrogen, phosphorus, and potassium (n-p-k), and pH. This kit also provides the ideal levels for hundreds of plants so you can check your results against the list.

Soil Dries too Quickly or Not Quickly Enough
Finally, another sign to repot is if your soil dries out too quickly. That could mean that the roots have replaced most of the soil (which is what holds water) and so your plant does not have access to enough moisture. You might even notice the water is running straight through the pot and not soaking into the soil. In this case, you want to up pot your plant to give the roots more soil which supplies nutrients and holds water. If your pot is staying wet too long, then you might need to downsize. If you’re iffy about soil moisture, I have used a cheap soil moisture meter for years with great success.

Repotting a Rubber Tree Step by Step
Repotting Supplies:
- New pot (if you’re up potting, general consensus is to go two inches bigger than your last pot).
- Potting soil. Make sure it’s something well draining.
- Perlite. You may add additional perlite to your potting mix to improve drainage.
- Gloves. Just to be safe because of the sap.
- Trowel or other tools. I actually needed to use a skinny spackle knife to detach the roots from the sides of the pot.

Remove the Rubber Tree from the Old Pot
This may take some work. If your plant is big, like mine, I prefer to lie it down flat and work the pot off horizontally. As I mentioned earlier, my plant wasn’t budging out of the pot. Sometimes it’s easy enough to just grab the plant close to the base of the soil and wiggle it out, but that wasn’t going to work for me this time. I used the spackle knife to wedge between the soil and the pot and went around, kind of like you do with a cake in a cake pan. After I did that it still took a lot of wiggling and coaxing to get it out.
Inspect the Roots
It’s always good to inspect the roots even if you don’t suspect there was a watering issue. It’s a best practice to monitor the health of your roots and you don’t get the opportunity to have a close look at them often. Make sure they are free from pests and are not mushy. Loosen up the root ball a bit so the roots are able to grow out into the new soil.
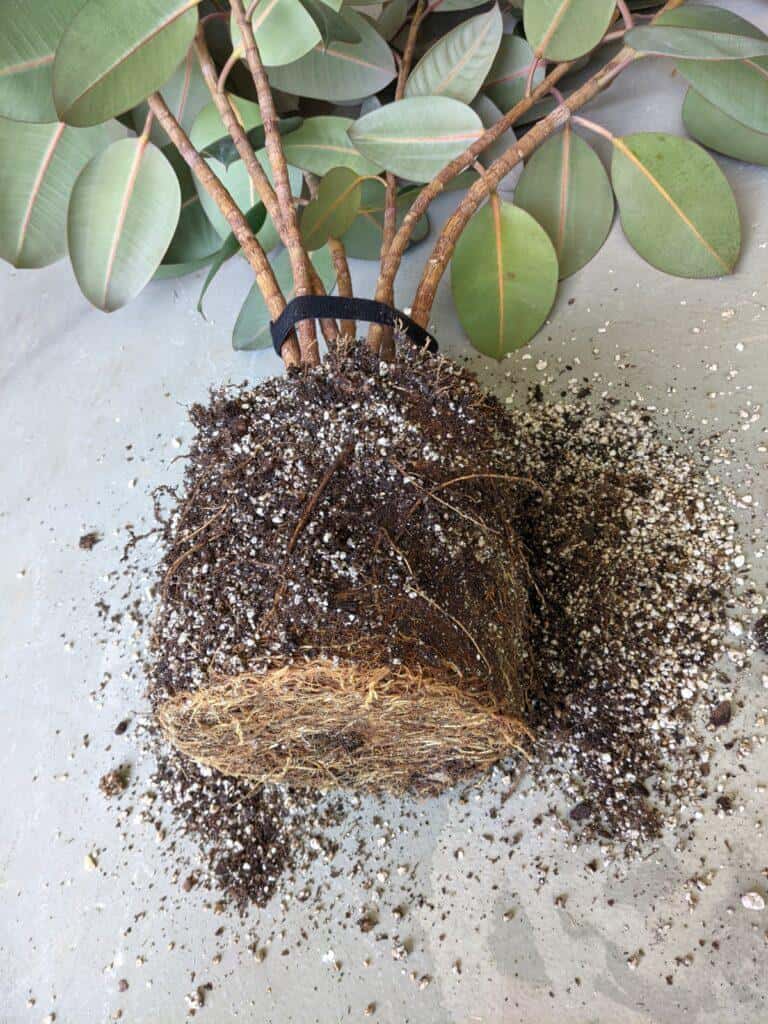
I noticed something kind of strange with my roots. They are very concentrated at the base of the root ball. I think this is in part because I put A LOT of perlite in my potting soil last time I repotted. It did that because I was having mushrooms growing on the top of the pot so I wanted to make sure the soil would dry out faster. So I think the water was draining almost too quickly and that’s why the roots were growing toward the base where gravity would carry the water.
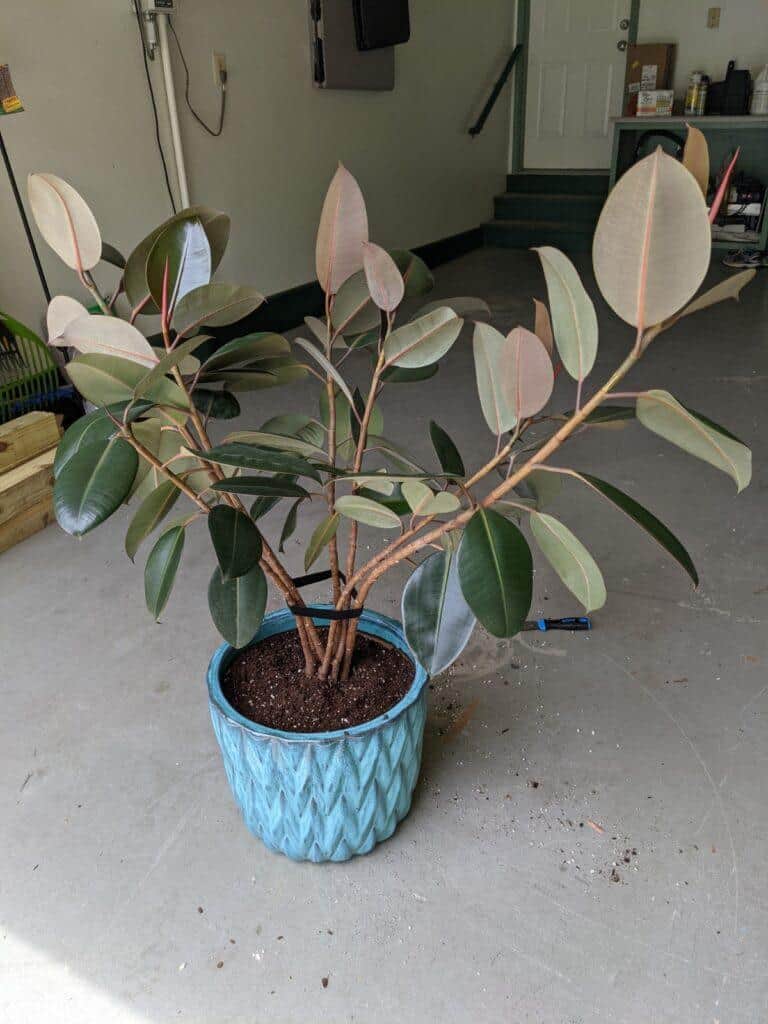
Repotting your Rubber Tree
Finally, it’s time for the new pot! Make sure you pick something with drainage holes. It’s the number one rule for healthy plants. I like to cover my drainage holes with a small piece of paper towel. It keeps the potting mix in while still allowing water to flow freely. In my opinion, the paper towel trick gets more important the big your pot because the drainage holes are big too.
Fill your new pot with some potting soil in the base. Just enough to have your root ball where you want it in the pot. Then you just backfill the pot around it. I typically add additional perlite to most potting soil mixes at a ratio of about 1:4. After seeing the roots on this one I decided to not add any additional perlite. There’s still a ton in the root ball so I just used straight potting soil mix (which also already has perlite mixed in any way).
After Repotting Care
After repotting I like to wait a few days to water, especially if you were repotting because of a watering issue. Usually, your new potting soil will be holding some moisture, so your plant should be fine. It’s also a good idea to keep it in the same spot or at least provide it with the same level of light to avoid unnecessary shock.
I'm a long time plant lover on the quest to happily coexist with as many plants as I can. Let's grow!